How to schedule work in the shared PI plan with Advanced Roadmaps
Background
Advanced Roadmaps has a lot of capabilities and can be a new experience for many existing Jira end-users. We recommend the Planning with Advanced Roadmaps University course as a primer to following the guidance in this how-to article.
Description
- Navigate to your program board with Jira epics.
- Refine the Jira epics according to your "Definition of ready" working agreement. At a minimum, we recommend updating the following key fields:
- Program increment
- Contributing team(s)
- Business value assigned using WSJF (reassign WSJF in PI plans using the WSJF view)
- Status = ready
- Business target date
- Estimate (t-shirt or points)
Please note: These field values can be adjusted in the plan views, especially if other features from other sources appear in the PI plan.
- Drag and drop the epics to set the rank for the PI.
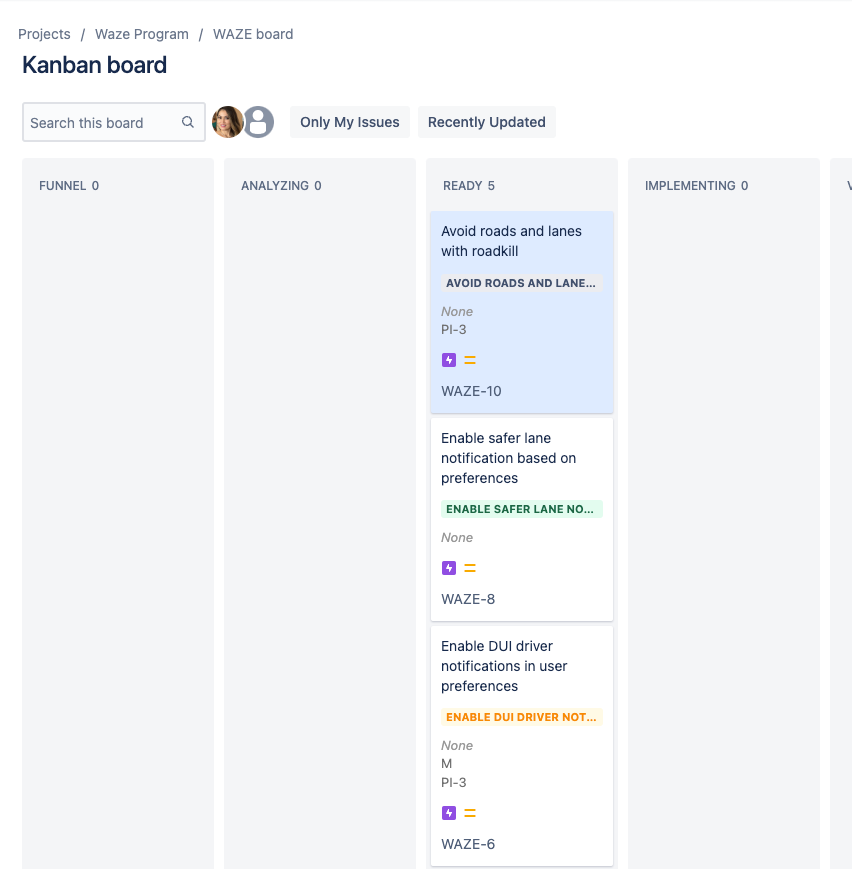 Drag and drop epics to set the rank.
 - Move Jira epics on the board to the ready column as needed.
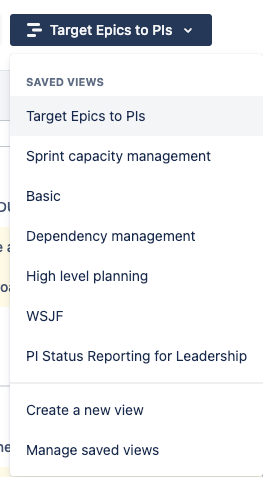
- Navigate to the PI plan created by your PI plan admin.
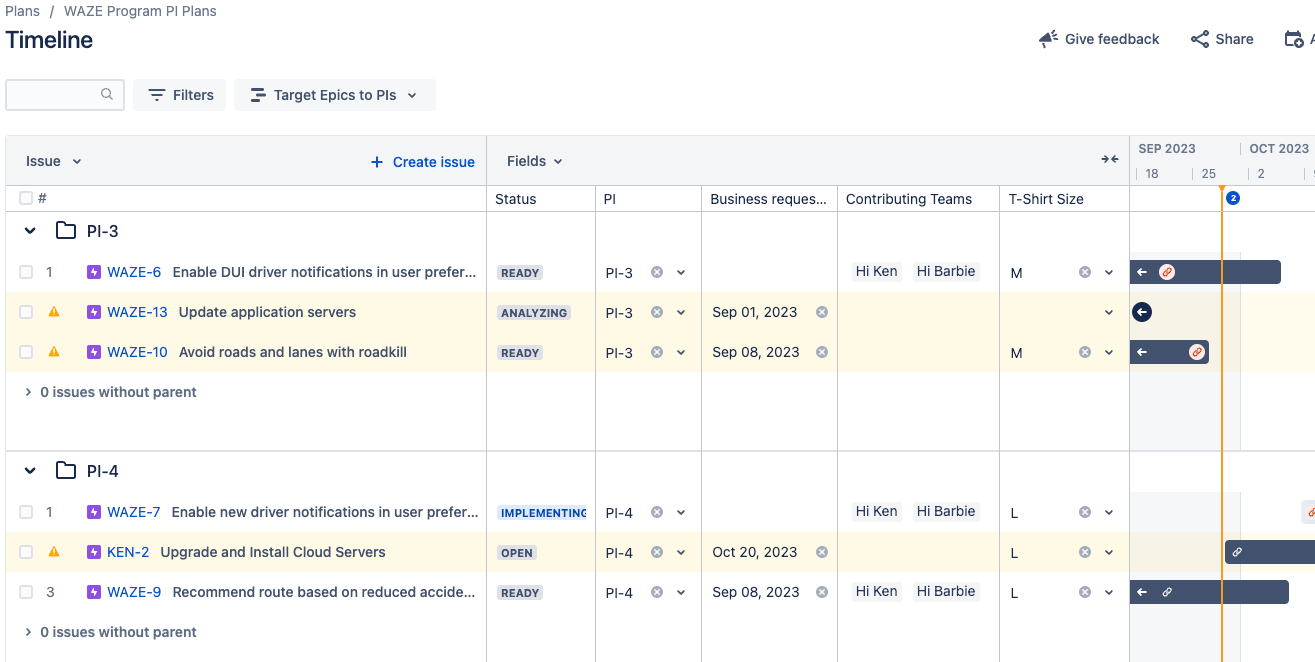
- Select the target epics to PIs view. This is the main view and will ultimately be used for presenting the feature roadmap during the PI planning event.
- To refine any of the field values, simply update them directly in the plan.
- To update WSJF, use the WSJF view.
- Use business requested date to communicate your desired due date.
- To reassign the Jira epic to a different PI, update the PI field. You can't drag and drop between folders.
- To reprioritize, drag and drop issues.
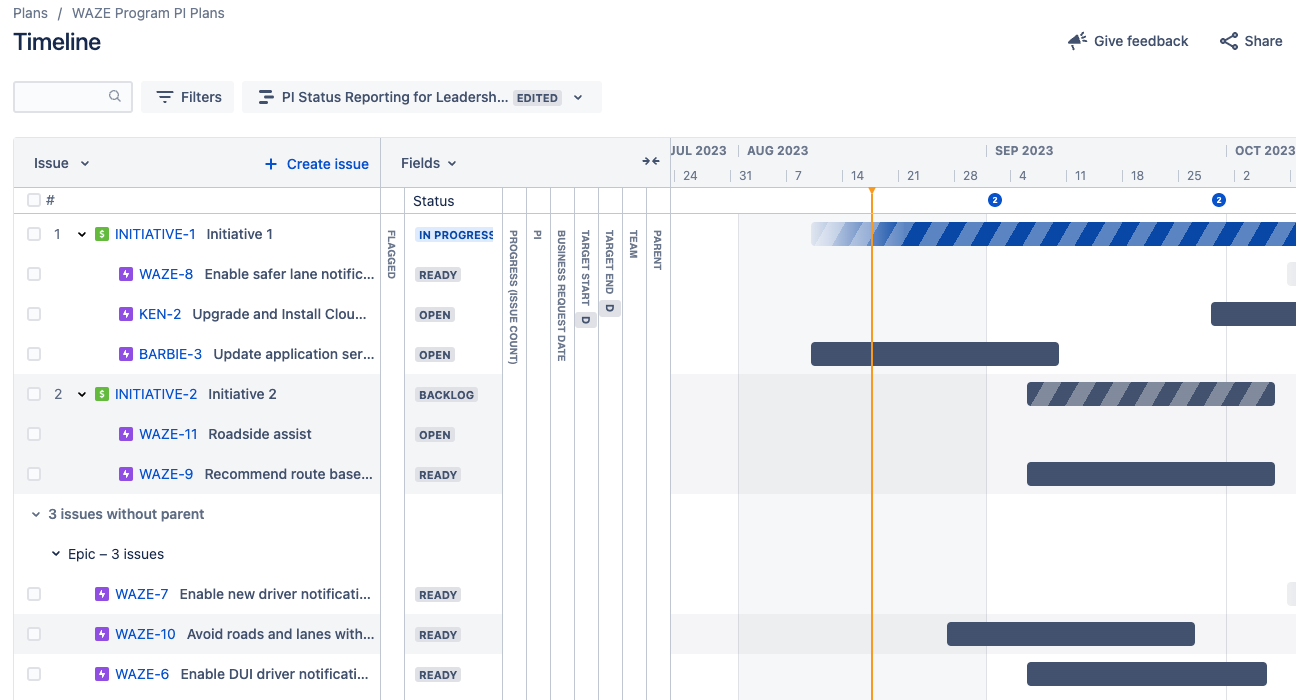
- To align the PI plan with investment or strategic goals, use the high-level planning view. This is also a good view to review the PI priorities with your leadership team.
- Adjust the target start and target end dates for the initiatives.
- Confirm that the Jira epics business requested date is targeted within the initiative's start and end dates.
- Be sure to frequently click on review changes and save changes to issues in Jira.
- We recommend you make saving changes to issues a regular practice, especially before switching between views. Remember, even a drag-and-drop change must be saved so the rank field is updated on the issue in Jira.
Do not update or save changes to any of the preconfigured views without discussing them with your PI plan admin. Pre-configured views help scale cross-team coordination efforts by maintaining standards and governance. If needed, create your own views with alternate filters and columns to prepare your features.
Remember, you can adjust view settings to help make informed decisions about dates and prioritization.
After using your own views or view settings, make sure your plans are represented in the pre-configured views.
Output
- Jira epics are scheduled in the shared PI.
References
Previous step:
Was this content helpful?
Connect, share, or get additional help
Atlassian Community